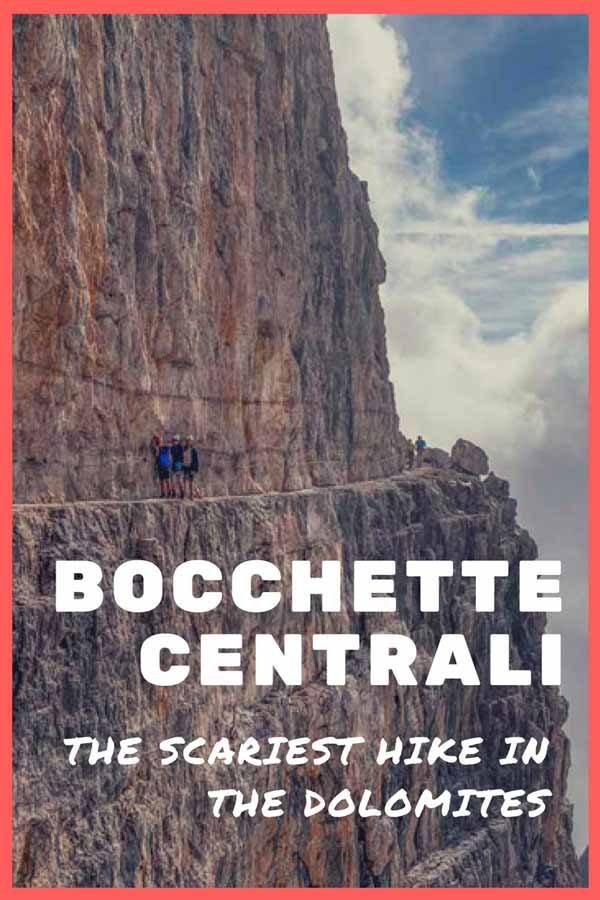
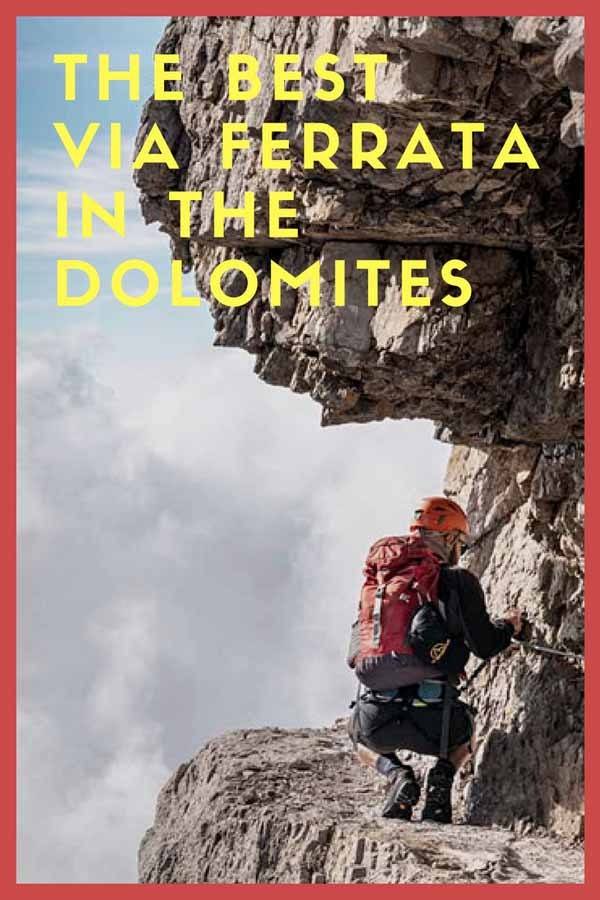
Have you ever considered a via ferrata in the Dolomites? After sharing all you need to know to go hiking in the Brenta Dolomites, here’s the account of our experience along the Bocchette Centrali, the best via ferrata we’ve ever done, not to mention the most scenic!
Do you love hiking and being in the mountains, and have always wanted to try the thrill of climbing?
If the answer is yes, you should consider going on a via ferrata, a kind of hybrid between hiking and climbing – the ideal step before trying something more challenging like the Vajolet Towers. There’s no better place than the Brenta Dolomites to experience some of the best via ferrata in the whole of the Alps.
The Brenta Dolomites are the westernmost dolomitic group in the Alps, about 100 km distance from other well-known Dolomites locations like the Pale Di San Martino and Marmolada, and 200 km from Cortina d’Ampezzo. The Brenta Dolomites are very close to Madonna di Campiglio, an Alpine town that was already a popular tourism destination in Habsburg times, and they offer all the iconic Dolomites experiences – skiing in winter, hiking, climbing, and mountaineering in summer – minus the crowds.
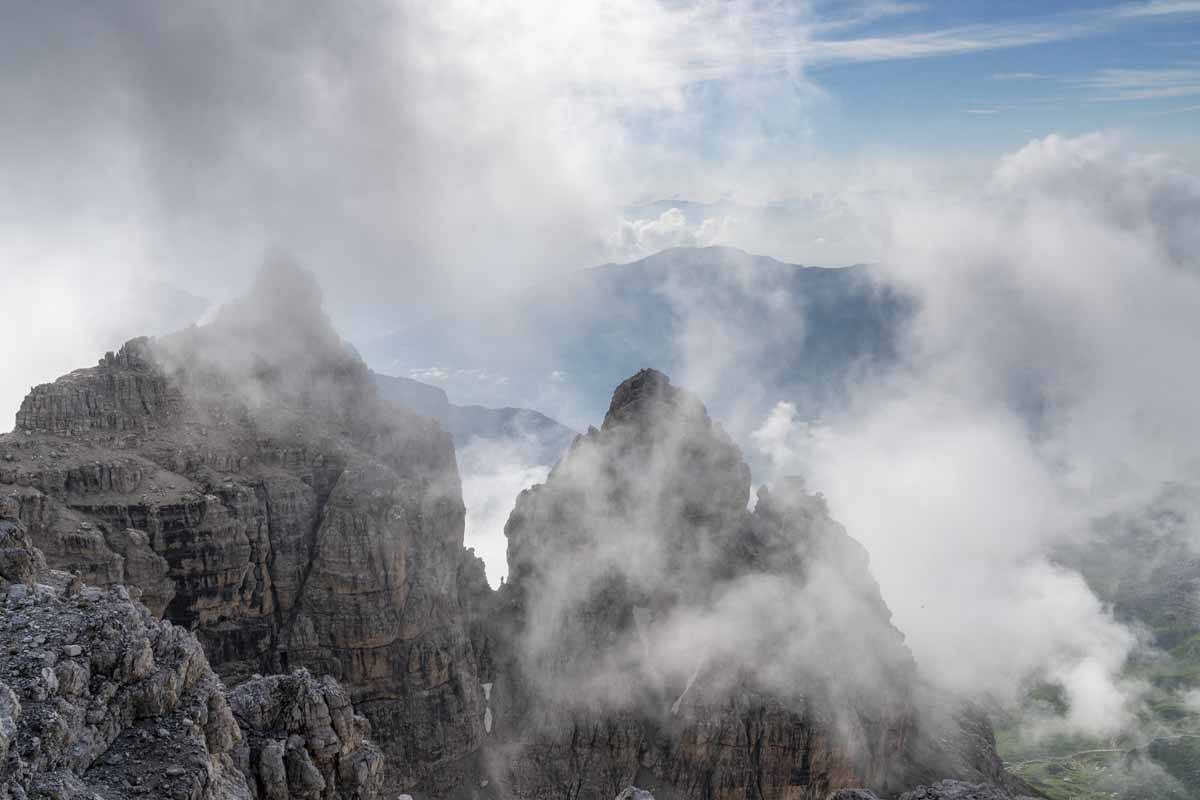
The Brenta Dolomites are also home to the Via delle Bocchette, a stunning via ferrata that can be tackled by anyone in reasonable physical conditions, offering a chance to immerse yourself into the heart of the Dolomites, while enjoying some truly out-of-this-world views.
What is a Via Ferrata?
Via Ferrata means ‘iron way’ in Italian, and it refers to a system of fixed cables, ladders, steps, and bridges placed on exposed mountain sections, allowing people to climb without the aid of ropes and other mountaineering equipment.
Climbers wear a harness and safety equipment, and progress through via ferrata with a mix of hiking, climbing, and scrambling. Just like with hiking trails, via ferrata have different difficulty levels – from easy options that can easily be done by family, to extremely demanding ones, that often require lots of climbing and a high degree of physical fitness.
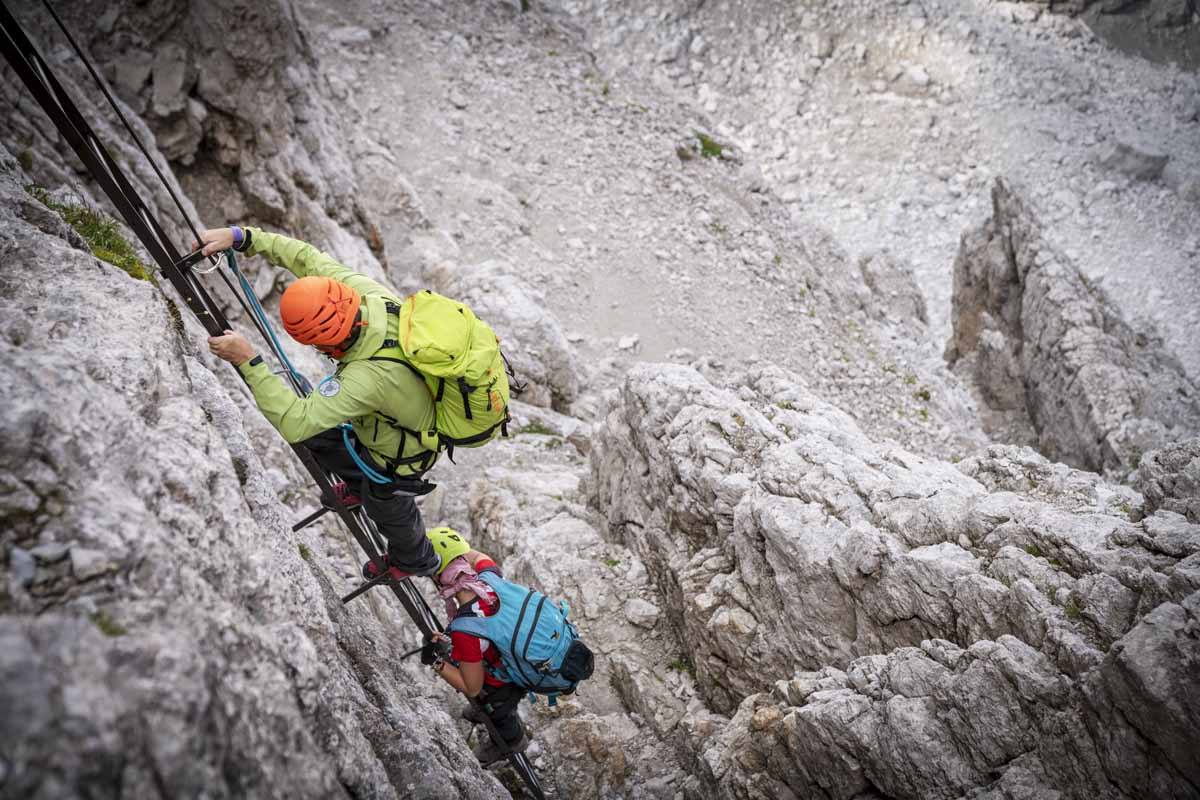
However, all via ferrata have exposed sections and sometimes aerial passages where you may be surrounded by hundreds of meters of void. If you’re afraid of heights, don’t attempt a via ferrata, or at the very least start with an easy one and go with a mountain guide.
One of the first Via Ferrata was actually born in the Brenta Dolomites – around 1880, the Alpine Guides of Madonna di Campiglio added cables and ladders to the eastern side of Cima Brenta, to allow easier access to their clients.
However, it was during the First World War that many of today’s via ferrata were first created. The Austrian/Italian frontline crossed the Dolomites, and many protected climbing routes were created to allow the two armies to pass through previously unaccessible locations, in the hope of surprising their opponents or find new supply routes.
Many of these routes were restored in the years following WW1, with steel cables and ladders replacing wooden ones.
History of the Via Ferrata delle Bocchette
In 1936, the SAT (Società Alpinisti Tridentini, a local mountain club) started building what would then become the most famous via ferrata in the Brenta Dolomites.
The Via Ferrata delle Bocchette is certainly unusual in the Alpine via ferrata panorama, in the sense that the route does not progress vertically, but horizontally, making use of existing mountain features like ledges and natural lines in the rock to cross the mountain group from one side to the other.
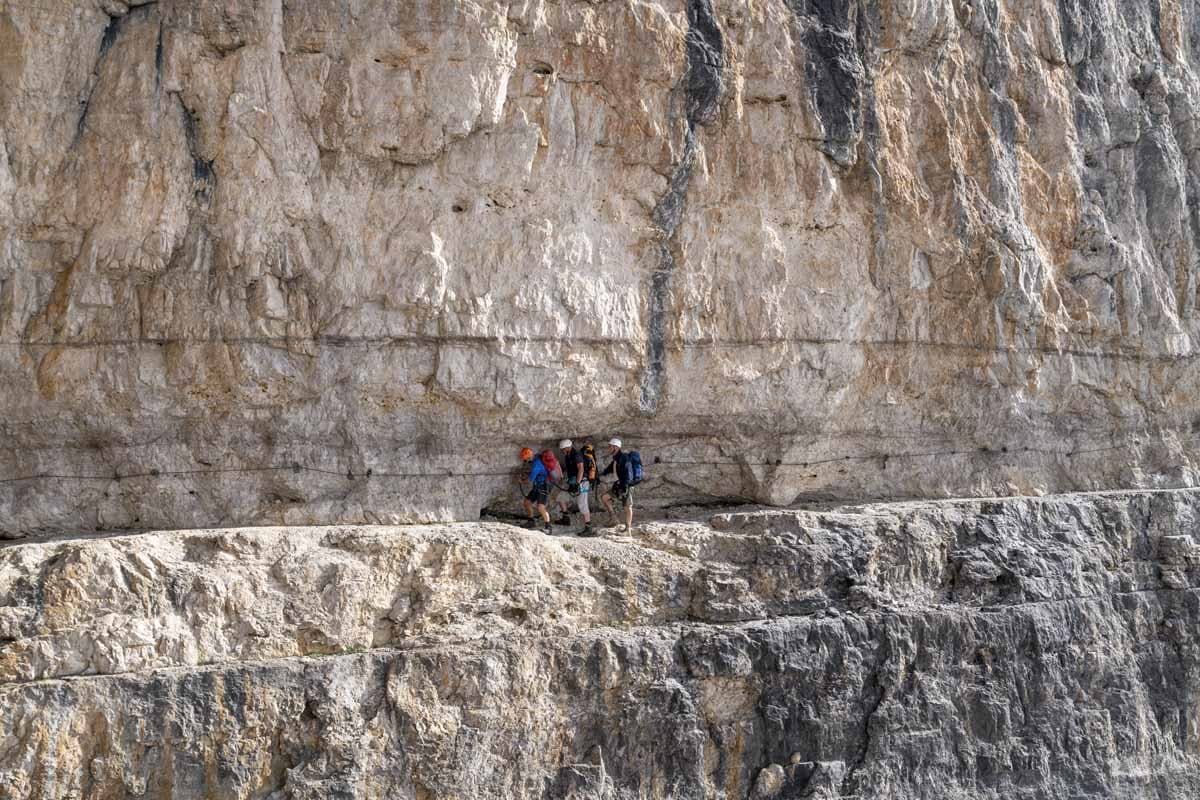
It took over 20 years to complete the Via delle Bocchette, as works had to be interrupted during WW2. In 1957, the Bocchette Centrali Via Ferrata was completed, connecting the Bocca degli Armi not far from Rifugio Alimonta to Bocca del Brenta, the pass that divides the northern and southern peaks of the Brenta Dolomites.
Ten years later, the Bocchette Alte Via Ferrata was created – a higher and more demanding path connecting Bocca degli Armi to Bocca di Tuckett, not far from the Rifugio of the same name. During our time in the Brenta Dolomites we only hiked the Bocchette Centrali, but we certainly hope to be back soon to cover Bocchette Alte as well!
Bocchette Centrali Via Ferrata Description
**August 2018 IMPORTANT UPDATE**
There’s been a landslide near Cima degli Armi, so the via ferrata has been re-routed following a more challenging route that requires the use of crampons and ice axe. Please don’t attempt this via ferrata without a qualified guide and equipment.
It takes about three hours to cover the Bocchette Centrali via ferrata from one side to the other. You can either start from Rifugio Alimonta and make your way up to Bocca degli Armi, or stay over at Rifugio Pedrotti or Brentei, hike to Bocca di Brenta and start the via ferrata from there. It really makes no difference as the path is largely horizontal and can be covered from both directions.
We stayed at Rifugio Alimonta the night before Bocchette Centrali, so my description will be from there. We woke early, and recommend doing the same, as mist often rises in the morning, hiding the scenic views over the Brenta Dolomites that will accompany you for the entire via ferrata. We left the Rifugio behind and took path number 323 towards the Bocca degli Armi, crossing a rill covered in snow – we wore crampons for this section, as the path was very steep and quite slippery.
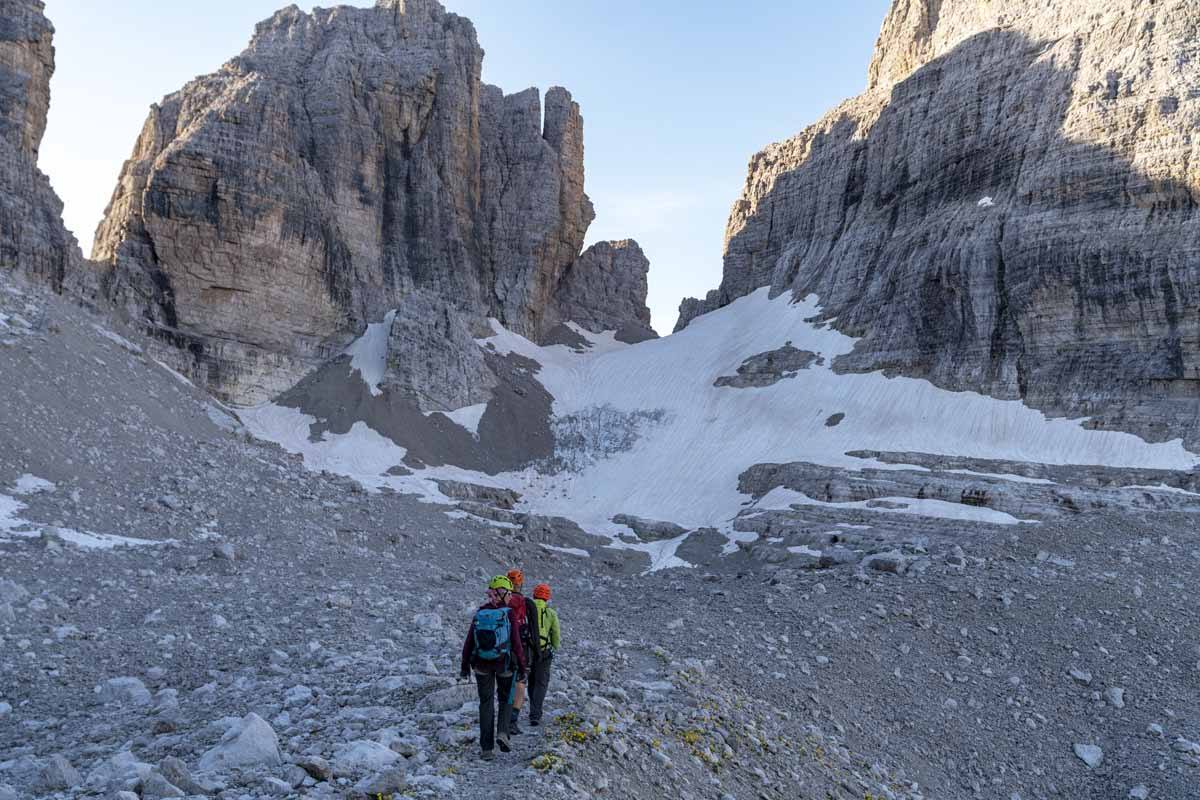
After about half an hour we got to the start of the Bocchette Centrali via ferrata – five steel ladders took us to the first ledge that we followed around to the eastern face of the Torre di Brenta. Shortly afterwards, we reached a longer and even more scenic ledge, with a horseshoe-shaped path with stunning views over the Campanile Basso, one of the most iconic peaks in the whole Brenta group.
This is the beauty of the Bocchette Centrali – the via ferrata is not technically difficult and it doesn’t require specific climbing abilities. Most of the time you’ll be walking on paths running along natural ledges, and sometimes you have to crouch down a bit, but that’s it.
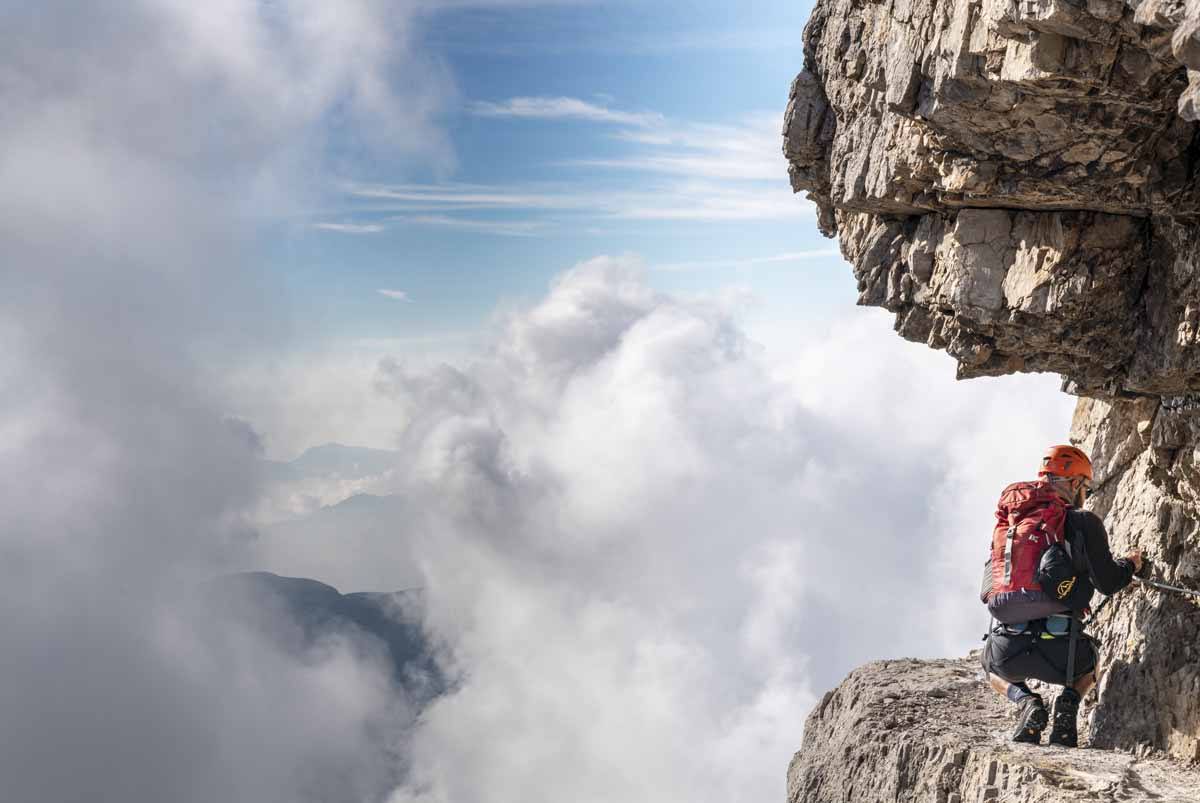
However, this via ferrata is not for those who fear heights. When following ledges, the path may be as little as 50 cm wide, with a 500-meter drop on one side. You’ll be secured to the cable with a lanyard and two carabiners, but it’s still essential to step carefully and avoid tripping over.
After the spectacular horseshoe-shaped ledge we reached a rocky outcrop where we enjoyed a break with views over the Campanile Basso, before descending for a further 300 meters. The Brenta peaks will be around you at all times, and you may even get a glimpse of climbers making their way to the top, little splashes of colour slowly ascending the stark dolomite rocks.
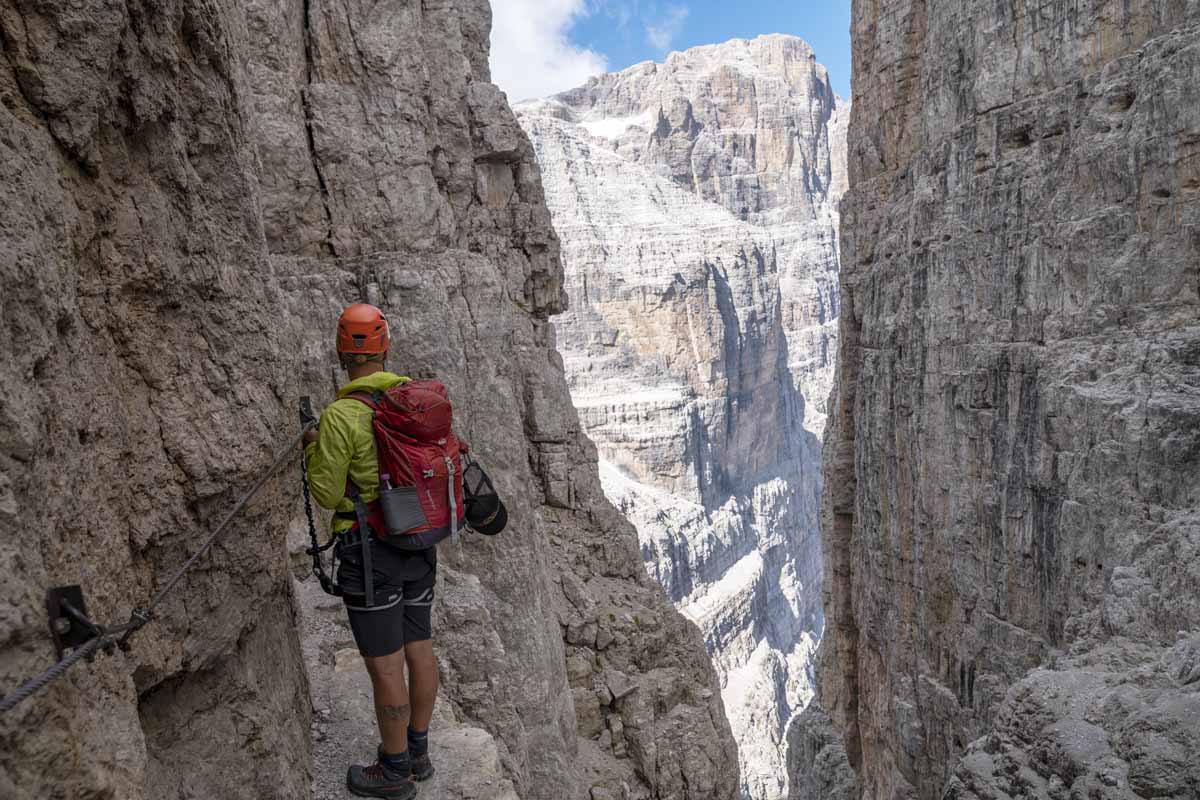
Then, there’s only a small section left, including another ledge, so narrow in some sections that it was necessary to add wooden ‘balconies’ to allow easy passage. Finally, we climbed down another couple of ladders, one of which bore a plaque with a poem dedicated to Fiammetta, a young girl who lost her life in these mountains.
That’s where the Bocchette Centrali via ferrata officially ends – or starts, depending on which way you tackle it – in a narrow valley with a the mighty peaks of Crozzon del Brenta and Cima Tosa looming from above, and the tiny church of Rifugio Brentei just visible down below, about one hour walk away.
When to Do a Via Ferrata in the Dolomites
Most via ferrata in the Dolomites are a summertime-only activity, being accessible only between June and October at the very latest – this is definitely the case of via ferrata over 2000 meters, like Bocchette Centrali.
Moreover, if you’re considering a multi-day or hut-to-hut Dolomites via ferrata, you’ll have to plan it between June 20th and September 20th, the official opening time of mountain huts. In recent years, mountain hut opening has sometimes been extended to early October – if you’re planning to visit around that time, make sure to contact mountain guides or the local tourism board, to check that via ferrata are still accessible.
We also recommend having a mountain guide with you, especially if you’re a via ferrata beginner. Having Ezio with us really made the experience invaluable – he shared many stories and anecdotes about the path, and helped me calm down during the hairiest sections. Even if you think heights are not a problem, you may get a little dizzy when looking at the sheer drops only inches away from you, and knowing there’s a qualified guide with you will definitely help.
Via Ferrata Equipment
Another reason to do your Dolomites via ferrata with a guide is equipment. Normal hiking gear is not enough for a via ferrata – you’ll also need a helmet, harness, and ‘ferrata set’. Most guides will offer gear rental included in the price of your trip, or for a small surcharge (as little as €10).

You can use a regular climbing helmet and harness for any via ferrata in the Dolomites. The only specific piece of equipment is the ‘ferrata set’, a lanyard made of two short elastic ropes with carabiners on either end, and a braking device. The carabiners are used to secure yourself when there’s a steel cable – there are two because you’ll have to clip and unclip yourself every time the cable is bolted to the rock face, so there’s always one carabiner fixed on the cable.
Besides via ferrata equipment, you’ll need comfortable clothing and hiking footwear – in the case of Bocchette Centrali boots are preferable to shoes, since it’s necessary to hike on snow between Rifugio Alimonta and the Bocca degli Armi. For everything else, check out our long-distance hiking packing list!
Other Via Ferrata in the Brenta Dolomites
There are several via ferrata all over the Brenta Dolomites, most of which can easily be covered as a day trip or linked together to create a multi day hut-to-hut expedition. However, if you’re planning a via ferrata day trip, we recommend staying the previous night at a nearby mountain hut since most via ferrata are best hiked in the morning, to reduce the chance of mist or storms.

Via Ferrata Day Trips
-Bocchette Alte
This is the highest and most challenging segment of the Via delle Bocchette, connecting Bocca degli Armi not far from Rifugio Alimonta to Bocca di Tuckett. The via ferrata alone takes about 4 hours, about 7 including the distance between the ferrata and the two mountain huts. This via ferrata is incredibly scenic and more technically difficult than the Bocchette Centrali, including more climbing, exposed sections and risk of snow even in summer. However, the view over Cima Brenta from the highest point in the ferrata should make up for it!
-Sentiero Attrezzato SOSAT
SOSAT is classified as a ‘sentiero attrezzato’ – the difference between that and a ferrata is that in the former, protected climbing aids (cable, ladders, steps and the like) are present only in some sections, whereas in the case of a via ferrata they are found most of the time. This path connects Rifugio Tuckett to Brentei, which is only about one hour downhill from Rifugio Alimonta – for this reason, it is often offered as an easier alternative to Bocchette Alte.
-Via Ferrata Castiglioni
This ferrata starts from Rifugio XII Apostoli, where we stayed the first night during our Brenta trek. It’s much shorter than the two Bocchette, but what it lacks in distance it makes up for in terms of views, since it’s very exposed and includes many aerial passages. It’s also one of the most technically difficult via ferrata in the Brenta area – those who are not extremely comfortable with heights should consider hiking it uphill rather than down, to minimise exposure to the void. The ferrata ends at Rifugio Agostini.
-Via Ferrata Brentari
This via ferrata starts at Rifugio Agostini, and ends at Rifugio Pedrotti (or vice-versa), not far from one of the two ends of Bocchette Centrali. It can easily become part of a multi-day expedition, together with the Via Ferrata Castiglioni and Bocchette Centrali. For those who prefer hiking it as a day trip, it’s worth noticing that uphill is the recommended direction, to enjoy scenic views over the Campanile Basso and Sfulmini peaks.
-Sentiero Attrezzato Benini
This is the newest Brenta path, having been open in 1972, and connecting Passo Grostè (which can be reached from Madonna di Campiglio with a cable car) to Rifugio Tuckett. It’s classified as a sentiero attrezzato, but it can be challenging due to the fact that it’s very long – about 4.30 hours from start to finish.
Via Ferrata Multi Day/Hut-to-Hut
-5-Day Via delle Bocchette Expedition
As we said before, many of these via ferrata can be linked together, becoming a hut-to-hut, multi day expedition.
For instance, the ‘classic’ 5-day Via delle Bocchette expedition starts with the Sentiero Benini on day 1 to Rifugio Tuckett, followed by either the Bocchette Alte or SOSAT to Rifugio Alimonta on day 2, depending on the weather and on the fitness level of the group. On day 3 it would be the time for Bocchette Centrali to Rifugio Pedrotti, followed by via ferrata Brentari to Rifugio Agostini on day 4, and finally via ferrata Castiglioni to Rifugio XII Apostoli, from where it’s easy to return to Pinzolo or Madonna di Campiglio for a well-earned rest.
Our via ferrata adventure was in collaboration with Trentino Marketing. We would like to thank Ezio and Roberto for being amazing travel companions, and Chiara for all your help and support!
Pin it for later?
