Come on, who hasn’t dreamed of visiting the Dolomites at least once in their lifetime? If that sounds like you, and you have a thirst for adventure, keep reading to find out all about hiking and climbing the Vajolet Towers!
Ah, the Dolomites. Out of all the wonderful Alps, there’s no place quite like the Dolomites to fulfil the desire of wilderness, peace, and beautiful landscapes that people look for, when heading to the mountains.
Yet, for many people ‘let’s go to the Dolomites’ means ‘let’s drive to a pretty lake or viewpoint and take a picture of mountains’ – with the result that in places like the Tre Cime di Lavaredo, or Braies Lake, you’re more likely to come across impromptu Insta photoshoots rather than actually being able to enjoy nature.
The Dolomites are not a place you can just tick off your bucket list after standing at a viewpoint and taking a selfie. They should be lived, loved, understood, respected. And that is hard to do when your only contact with them is from afar, looking at them from the comfort and convenience of the valley.
That can only mean one thing – get higher. Hike for a day, and spend the night at a mountain hut at 2500 meters above sea level, or higher. Marvel at the enrosadira, that magical moment at sunrise and sunset when the mountains turn red, pink, purple and many shades in between, thanks to the calcium carbonate and magnesium in the Dolomite rocks.
Stay up all night under a blanket of stars, the Milky Way so close you can almost touch it. Head out first thing in the morning and breathe in that crisp, pristine mountain air; look at the sky, and realise that so many of those problem you left behind suddenly seem meaningless.
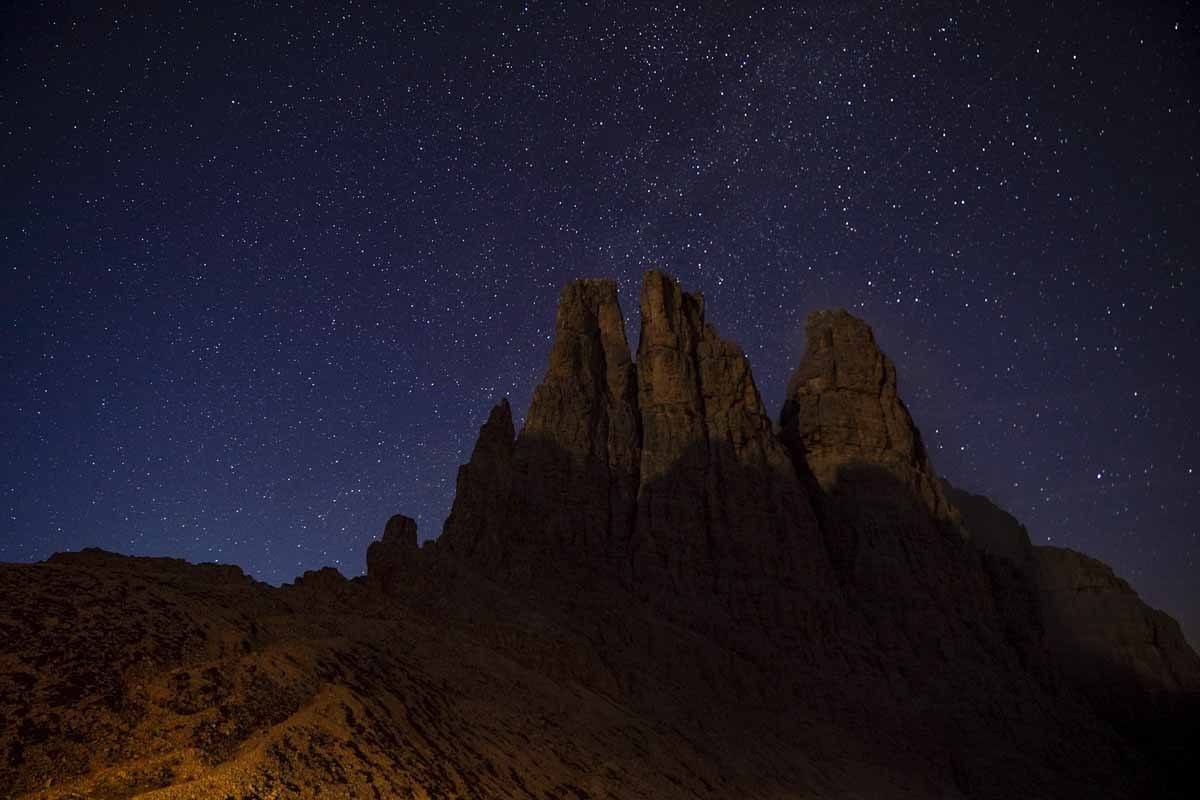
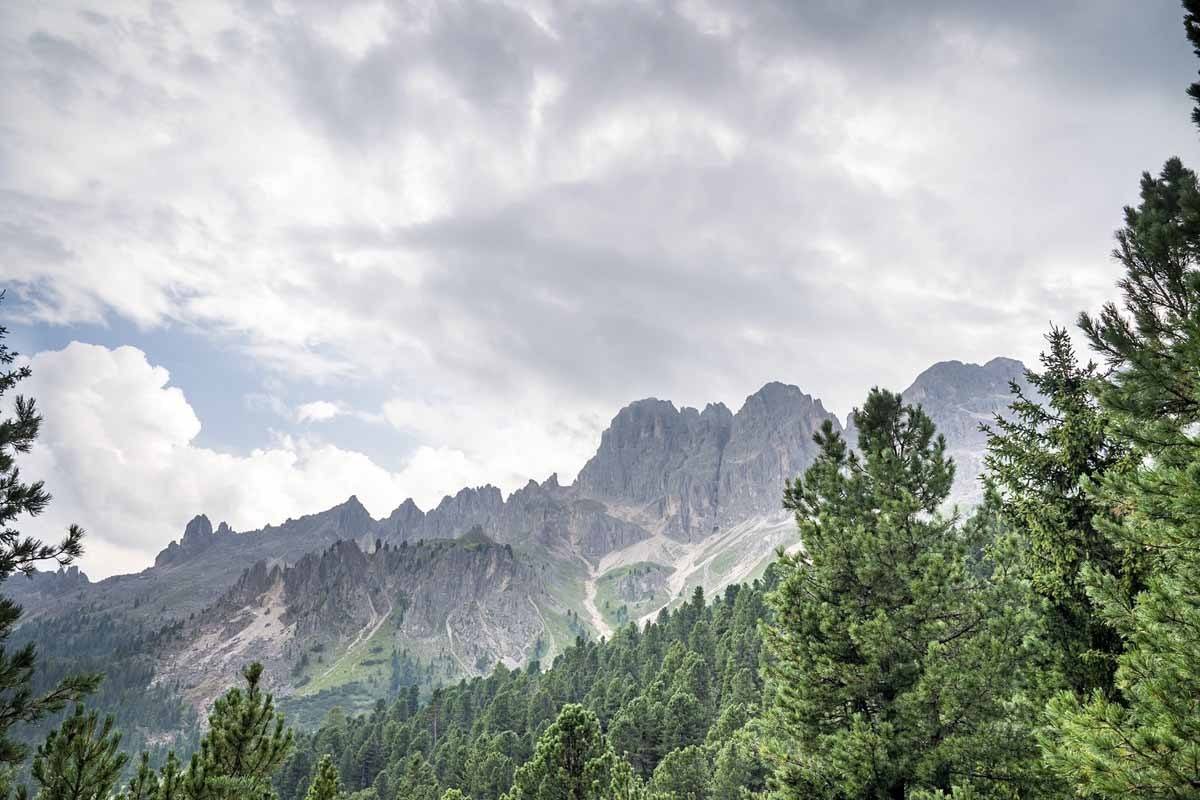
There are countless hikes you can choose from, but here we’d love to tell you about a very, very special place – the Vajolet Towers. They’re truly one of the most special corners of these UNESCO-listed mountains, six rock spires surrounded by a barren, lunar landscape, which can only be reached with a 3-hour hike.
Last month we spent two days around the Vajolet Towers – we reached them hiking along a via ferrata, spent a day rock climbing, and hiked down following a different path.
Here’s our guide to climbing and hiking the Vajolet Towers – including practical info to help you plan your visit to this hidden corners of the Dolomites.
How to Get to the Vajolet Towers
The Vajolet Towers (Torri del Vajolet) are part of the Rosengarten/Catinaccio group, right in the heart of the Dolomites, at the border between Trentino and South Tyrol.
Reaching them involves a minimum of 2 and a half/3 hour hiking each way, so we highly recommend spending a night at one of the mountain huts nearby – we stayed at Rifugio Re Alberto, located right at the base of the towers, but there are also a couple others nearby.
Reaching the trailheads heading to the Vajolet Towers by public transport is time consuming – if you’re going hiking with a mountain guide (highly recommended), they will meet you at the train station in Trento or Bolzano and drive the rest of the way, otherwise the best way is hiring a car.
If you’re set on reaching the Vajolet Towers by public transport, we recommend taking the train to Bolzano, the SAT bus to Vigo di Fassa, and finally the Catinaccio cable car – from there, it’s a further 2 and a half hour drive to the Vajolet Towers.
When to Hike the Vajolet Towers
The mountain huts all around the Vajolet Towers are only open from mid-June to late September, so the hikes we’ll describe below can only be done within this time span.
The same goes for rock climbing – we climbed with our favourite guide, Gianfranco from Dolomiti Avventura, who said the best months for climbing the Vajolet Towers are July and August.
In winter, it is indeed possible to go on ski touring or snowshoe outings in the area, departing from the Catinaccio cable car top station, but I am not sure it’s actually possible to reach the base of the Vajolet Towers since the trail is very steep and makes use of steel cables – not something you want to venture on with snow and ice.
Vajolet Towers Mountain Huts
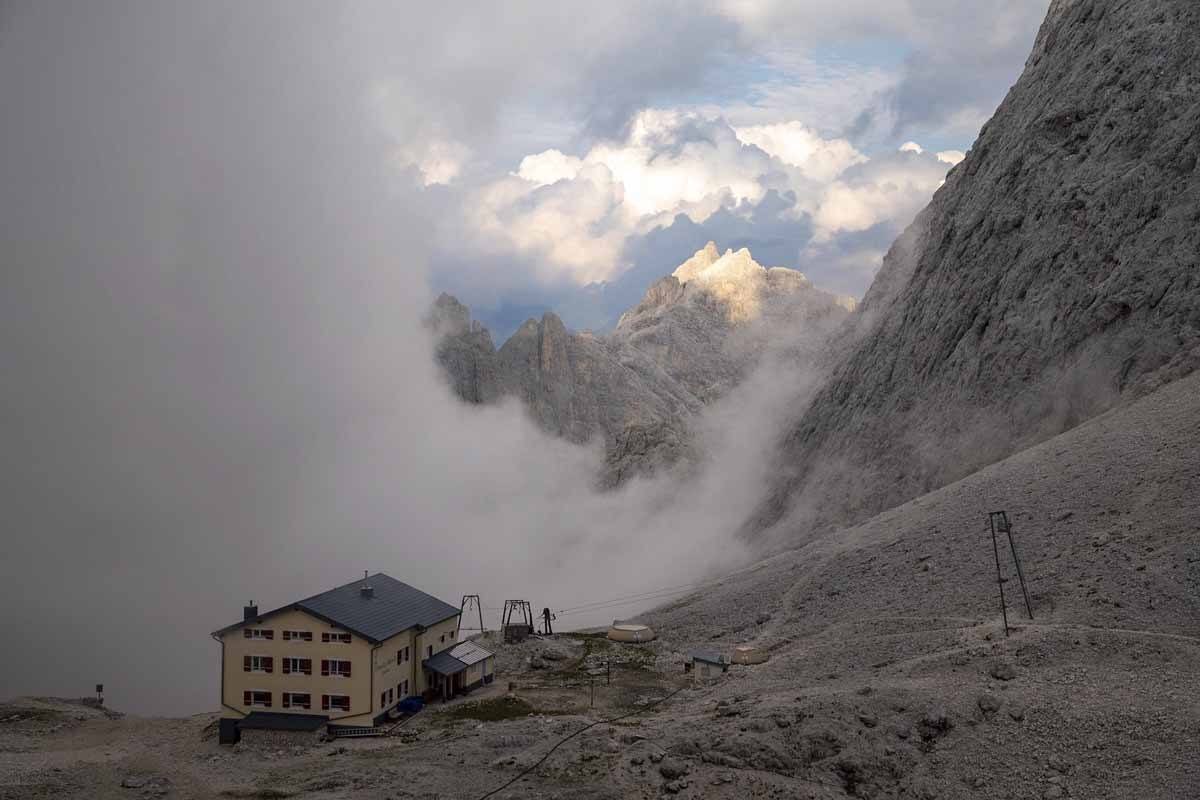
We spent the night at Rifugio Re Alberto I (Gartlhütte), the closest one to the Vajolet Towers, located just 20 minutes walk from the base. All the cool night pictures you see here were taken from the terrace of the mountain hut – it’s definitely the easiest and most convenient place to stay at near the Vajolet Towers, the food is excellent, and the people are really nice and friendly.
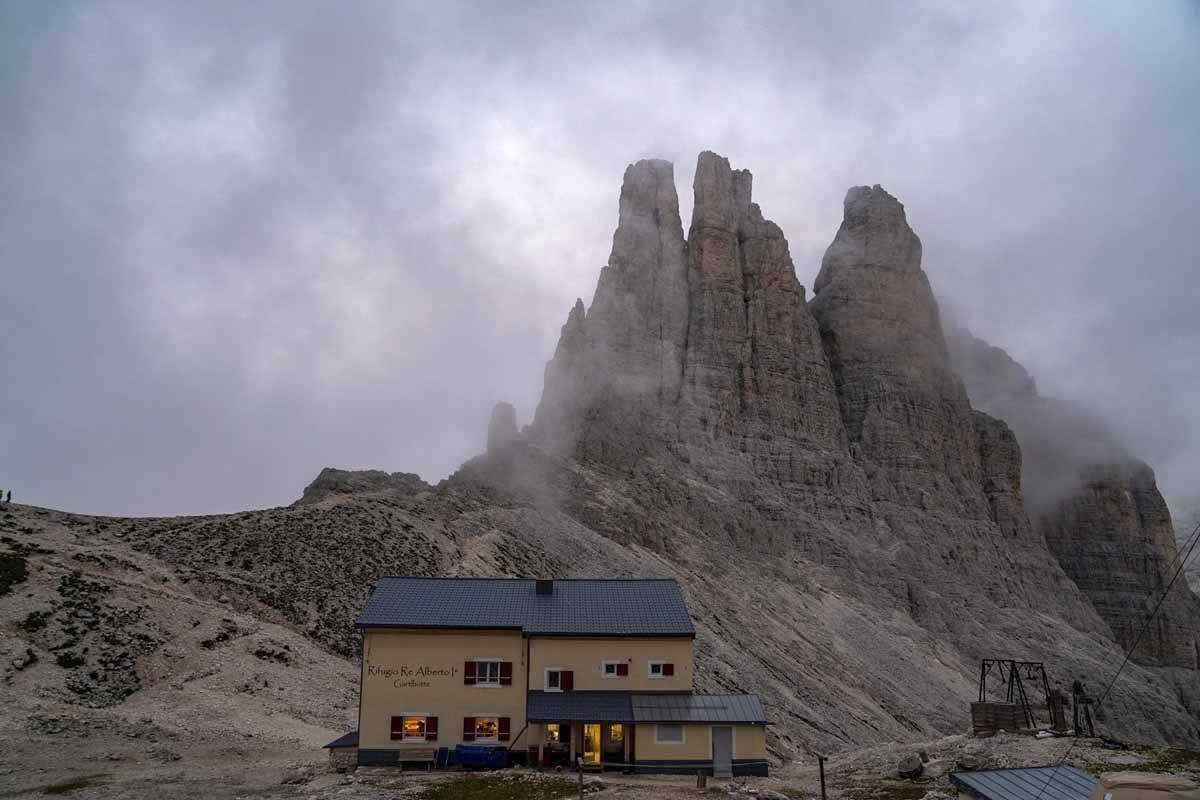
We highly recommend staying at Rifugio Re Alberto, but in case it’s full (it does fill up in summer!) you can choose one of these other options:
- Rifugio Passo Santner (Santnerpasshütte) – located only 10 minutes walk from Re Alberto, this small mountain hut is a great alternative if the former is full! Sleeps 12 people.
- Rifugio Vajolet (Vajolethütte) – this mountain hut sleeps 130 and offers more facilities than the two huts mentioned above, including showers. It’s 500 meters below Rifugio Re Alberto, about an hour on foot, and it can be reached from Ciampedie (the the Catinaccio cable car top station) in an hour and a half.
- Rifugio Preuss – perfect alternative to Rifugio Vajolet if you’re not a fan of large, noisy huts. This one is located right next door and the atmosphere is much quieter, plus food is reported to be of better quality. These two huts don’t offer views over the towers, but they’re a great option if you want to share the ascent over two days.
- Rifugio Passo Principe – another wonderful option for a stay in the heart of the Dolomites, this hut can be reached with a further hour walk along an easy path from Rifugi Vajolet and Preuss.
- Rifugio Gardeccia – this is the lowest of all the huts mentioned in this section, only 45 minutes away from Ciampedie. It is the only one to open in winter.
All the huts mentioned here charge between €50 and 60 for half board and accommodation in shared dorms, with shared bathroom facilities.
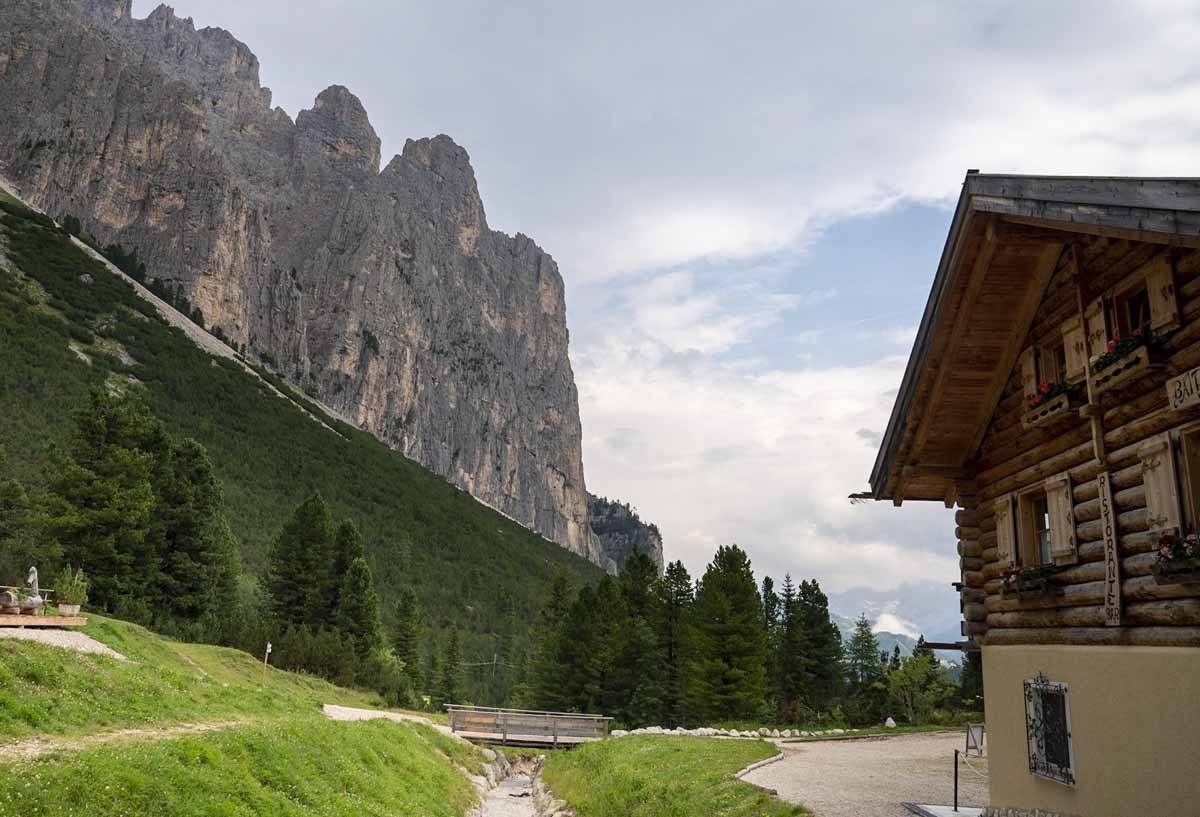
Hiking the Vajolet Towers
There are two main paths to access the Vajolet Towers – from the South Tyrolean side, and from Trentino. We hiked up from the South Tyrolean side, along the Santner Via Ferrata, and hiked down via Rifugio Vajolet/Gardeccia/Ciampedie and finally Vigo di Fassa, on the Trentino side.
Santner Via Ferrata
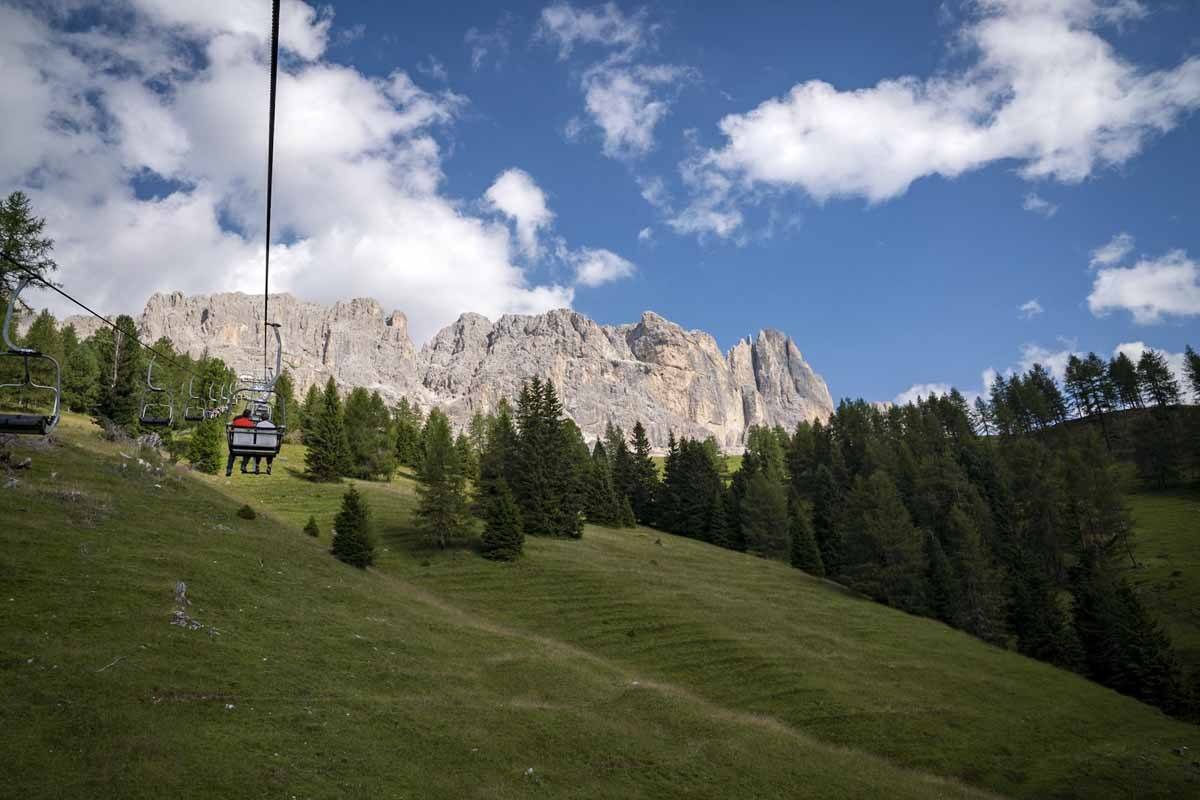
To reach the Vajolet Towers, first we drove all the way from Trento to Malga Frommer with our guide Gianfranco. From there, we hopped on the King Laurin chairlift to Rifugio Fronza alle Coronelle (Kölnerhütte) – the chairlift is open every day in summer from 8.15 AM to 5 or 6 PM (check opening times here) and tickets cost €10 one way, and €14 return.
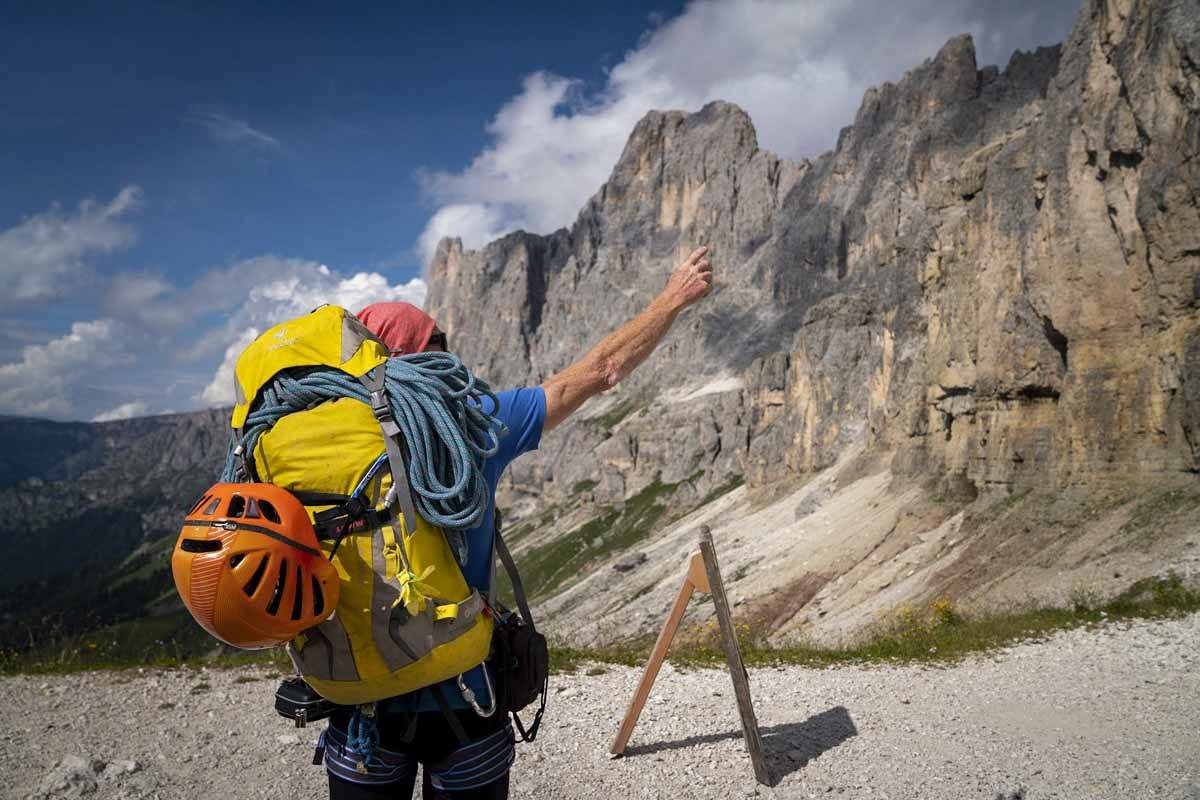
It’s a quick ride to the top, with the Dolomites getting closer and closer. Once you reach the top, you can choose to follow path n.550 all the way to Passo delle Coronelle/Tschagerjoch, taking about 45 minutes/1 hour, then continue along path 541 to the Rifugio Vajolet for an hour and a half, and finally climb a further 45 minutes to Rifugio Re Alberto.
We opted for the Santner Via Ferrata. From Rifugio Fronza, we started hiking along path n.542, which was fairly easy and flat at first, following a natural ledge. The more we progressed, the harder it got, with climbs and descents on rocks, which could be challenging for first time hikers.
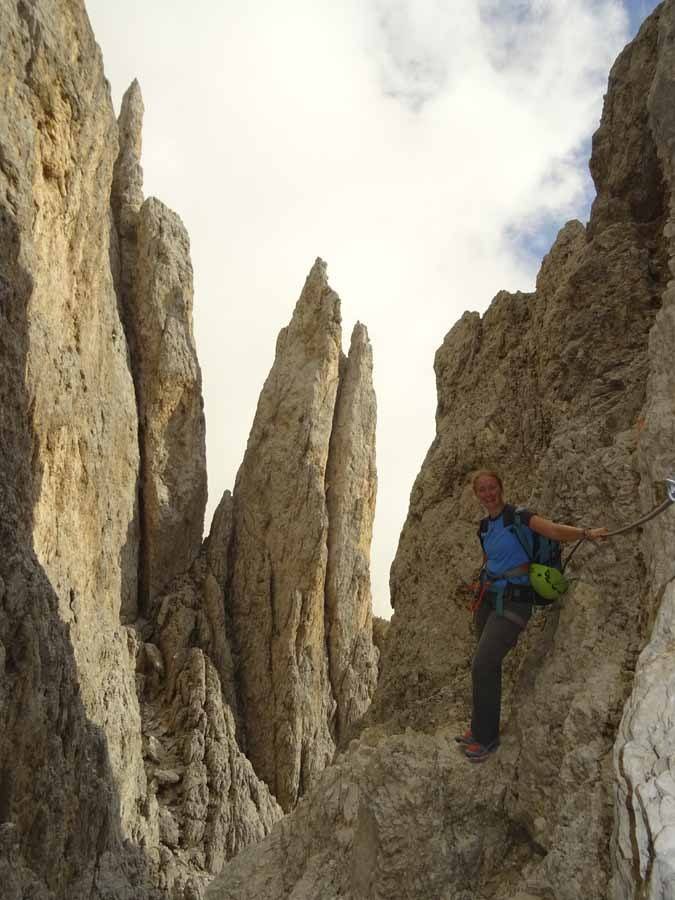
After about an hour we got to the bottom of the actual via ferrata, climbing up to the pass with a series of steel cables, steps and ladders. As far as via ferrata go, we found it fairly easy – we never felt ‘exposed’ as the ferrata followed a narrow couloir, and it was cloudy by that stage.
We climbed up the via ferrata for approximately one hour, until we reached Passo Santner (Santnerpass). From there, we only had to hike a further 15 minutes down a comfortable gravel path to Rifugio Re Alberto, that we reached just in time for dinner!
Hiking to the Vajolet Towers from Vigo di Fassa/Ciampedie
We followed this itinerary on the hike down, since it had been raining and we didn’t feel like attempting the via ferrata. If you’re not comfortable on via ferrata, we highly recommend opting for this way instead!
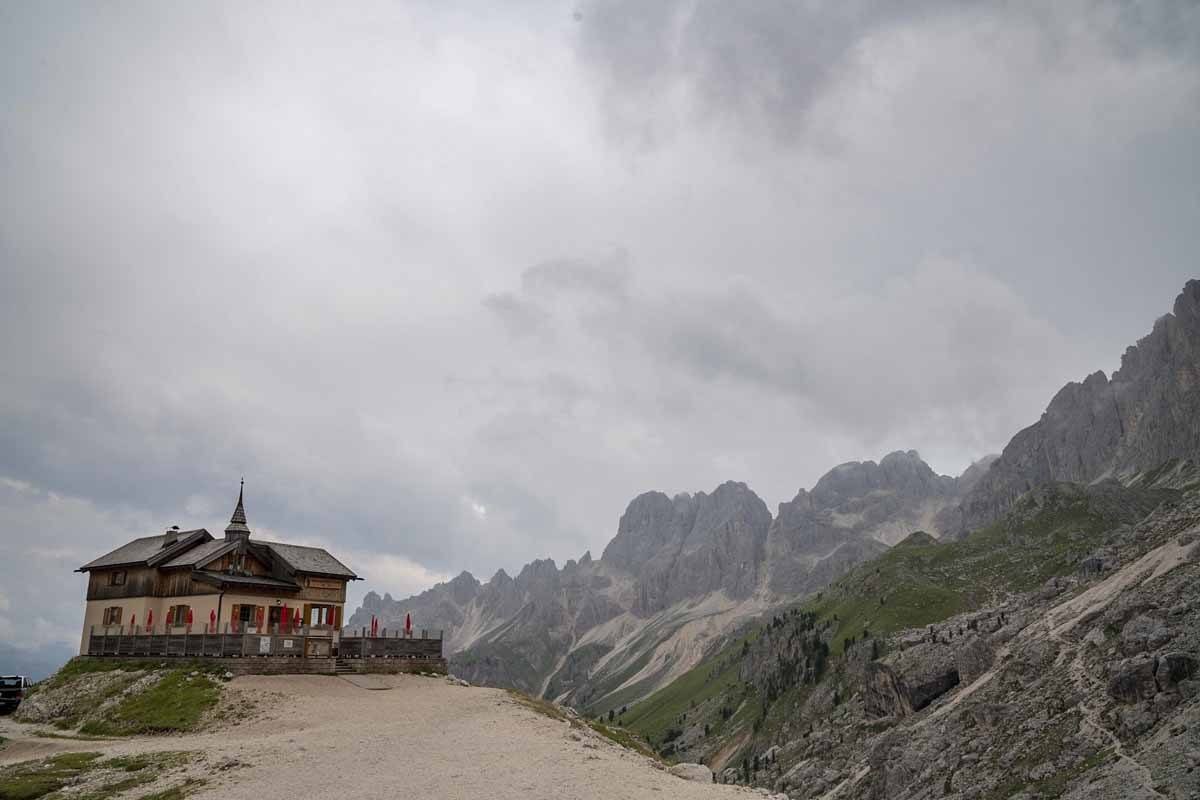
Drive to Vigo di Fassa and take the Catinaccio Cable Car all the way to Ciampedie, the top station. From there, hike a further 45 minutes along a comfortable forest road to Gardeccia. This is the only part of the hike where you’re likely to see many people – after that, the path gets considerably steeper.
From Gardeccia, keep going for about one hour along path n. 546 to Rifugio Vajolet, where it’s a good idea to stop for a break. From there, you only have a further hour along path n. 542 or so to Rifugio Re Alberto and the wonderful towers – but it’s very steep, and in some sections you’ll have to hold tight on to steel cables.
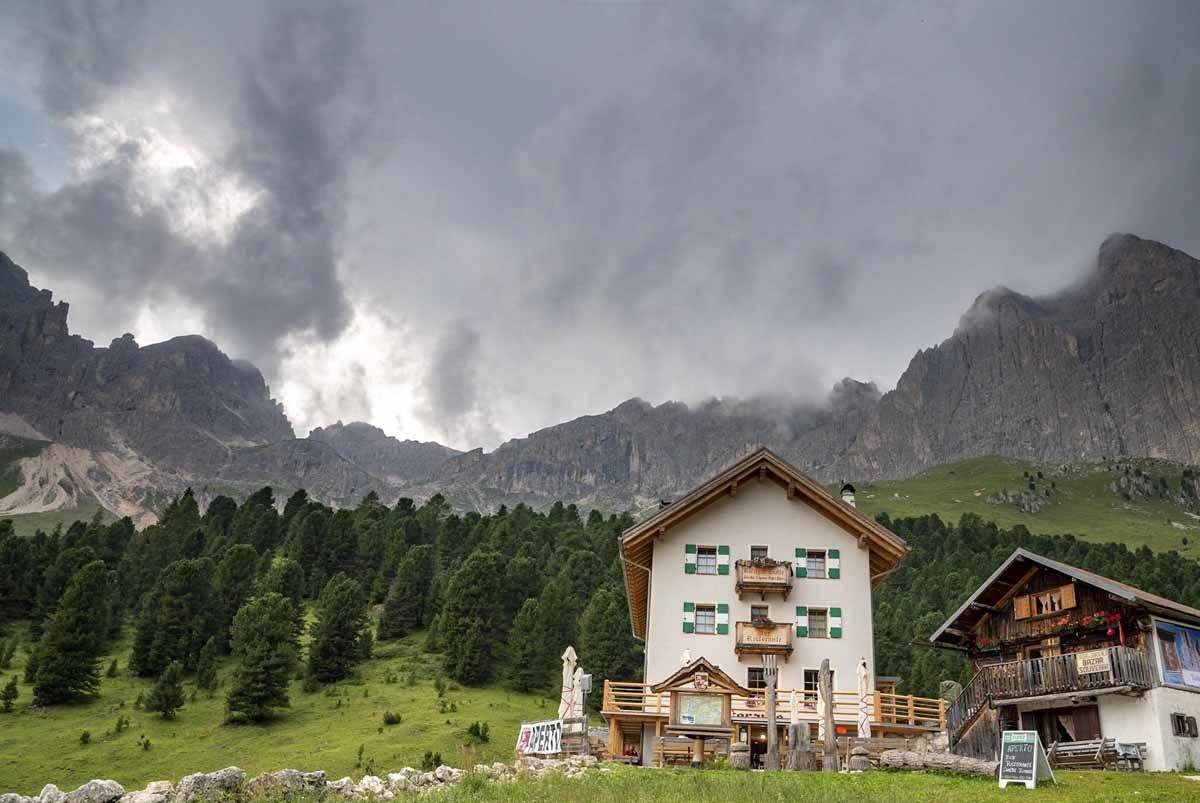
All the sweat and effort will suddenly become worthwhile once you reach the magical Vajolet Towers. It’s truly one of the most amazing places in the world!
Climbing the Vajolet Towers – Spigolo Piaz
If you know the basics of rock climbing, we highly recommend climbing Spigolo Piaz, following the left edge of Torre Delago, one of the six Towers.
This is the easiest and most scenic multi-pitch route to reach the summit of the Vajolet Towers. You’ll DEFINITELY need a guide, unless you are a guide yourself or a very proficient climber.
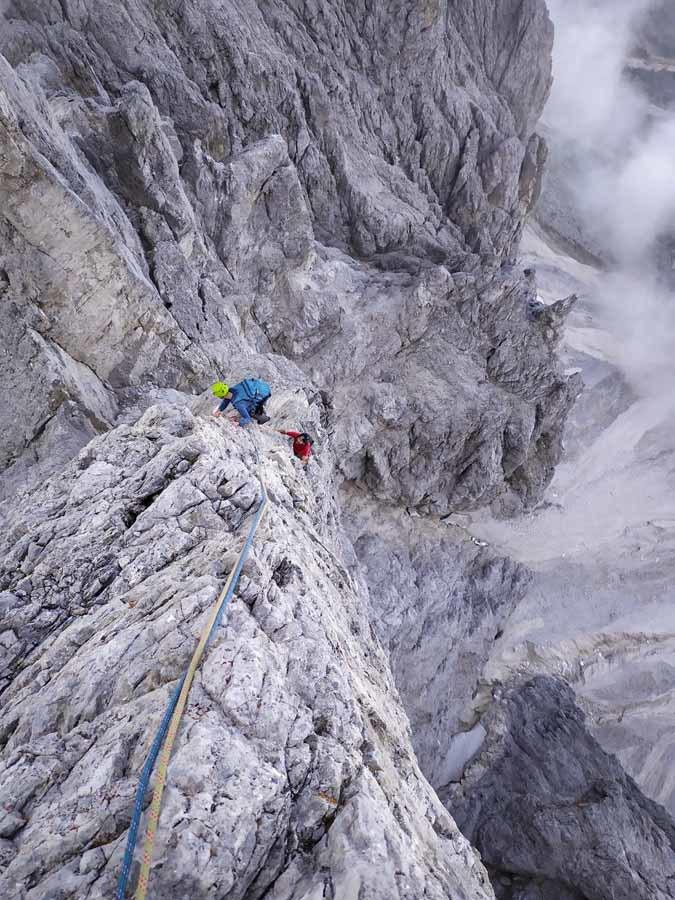
If you have never climbed before, this is probably not a good place to start – head to a crag like the ones near Arco in Garda Trentino instead. The Spigolo Piaz is not very hard in technical terms (it’s only IV+ in terms of official classification) but it’s very, very exposed – really NOT recommended if you’re afraid of heights.
The climb is 5 pitches in total, starting just 20 minutes from the Rifugio. It took us 2 hours and a half to reach the summit, and a further hour to rappel down.
This is the easiest route to reach the top of the towers, so it has the potential to be crowded – make sure you leave the hut early, or else risk being stuck behind other people.
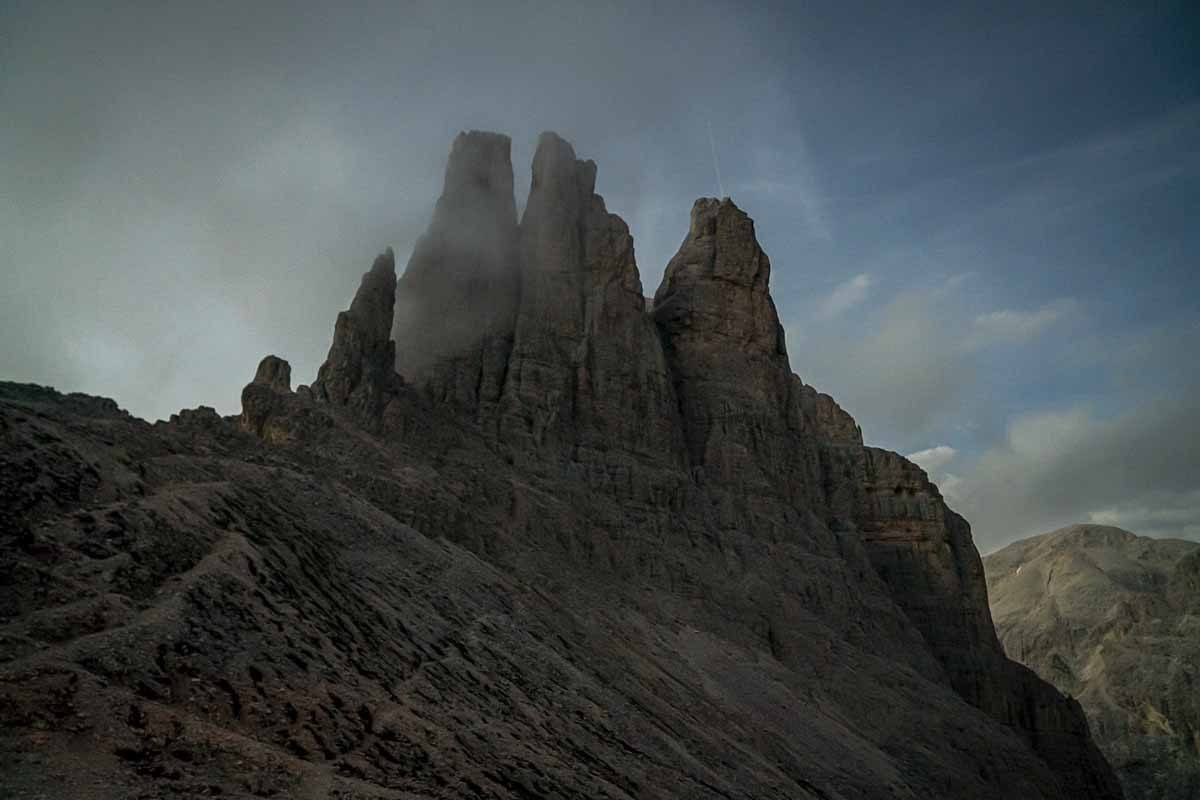
Here is a description of each pitch:
-Pitch 1 is the hardest, technically speaking. Climb vertically following a niche you’ll be passing on the left, then you’ll hit a patch of pale rock, slightly overhanging. This is the hardest bit. After that you’ll reach the ‘spigolo’ (edge) proper, a narrow rock blade you’ll be following for the entirety of pitch 2.
-Pitch 2 is breathtaking, following the left edge of the towers. You’ll be climbing on a narrow ‘rock blade’, literally a couple of inches thick, with views stretching for miles on both sides of the blade. It’s incredible, but it can be unnerving if you are afraid of heights. After about 10 meters along the blade, you’ll be heading right and climb along the ‘face’ of the tower until the end of the pitch.
-Pitch 3 includes a dihedral (inside corner) right next to the edge. This is probably the last challenge of the entire climb, as the rest is really easy.
-Pitch 4 and 5 can be combined. You’ll be climbing up the front of the tower with plenty of foot and hand holds, until you reach the top. Then you’ll have to walk across the top towards the edge on the right, where you can start rappelling down.
Vajolet Towers Practical Tips
- We said that before, but we’ll say it again highly recommend visiting the Vajolet Towers with an Alpine guide, especially if you’re planning to take the Santner via ferrata and/or climb the towers. Even if you’re an experienced climber, it’s important to travel with somebody who knows the area and the routes closely.
- We recommend contacting Gianfranco – you can get in touch with him via mobile phone +39-347-7031435 or email dolomitiavventura2003@gmail.com
- All around the Vajolet Towers (and Dolomites in general) water is very scarce. Mountain huts have a very limited water supply and showers are not usually available. Tap water is often not potable as water sources over 2000 meters are not monitored – you’ll have to buy bottled water from the huts, or else take your own Steripen/filter water bottle.
- Please don’t forget the golden rule of the mountains – take all your rubbish back down with you and dispose of it yourself!
